
")
Blurry images can ruin the impact of your visuals, whether they’re meant for websites, social media, or print. Poorly resized images can appear pixelated, stretched, or lacking in detail, making them look unprofessional. Whether you’re a photographer, designer, or business owner, maintaining image clarity is essential for leaving a strong impression.
The problem often arises when resizing JPG images without understanding how resolution, compression, and formatting affect quality. In this guide, we’ll explore the most common mistakes that lead to blurry resized JPGs and how to fix them. If you’re looking for a hassle-free way to maintain sharpness while resizing, Pippit is an excellent tool that ensures high-quality results.
The Most Common Mistakes and How to Fix Them
Resizing JPG images may seem simple, but small mistakes can lead to blurry, pixelated, or distorted results. Whether you’re resizing for print or digital use, avoiding these common pitfalls can help maintain image quality. Here are the most frequent mistakes people make and how to fix them:
1. Using Low-Resolution Source Files
One of the biggest culprits behind blurry resized images is starting with a low-resolution file. If your original image lacks enough detail, stretching or enlarging it will only make things worse. Low-resolution images contain fewer pixels, so when they’re resized, the software tries to fill in missing information, resulting in a soft and pixelated look.
How to fix it: Always start with the highest-resolution image possible. If you need to enlarge a small image, use an AI-powered JPG image resizer that can intelligently upscale without excessive blurring.
2. Over-Compressing Images
JPG images use compression to reduce file size, but excessive compression can strip away important details. The more an image is compressed, the more pixelation and artifacts appear, leading to a significant loss of sharpness.
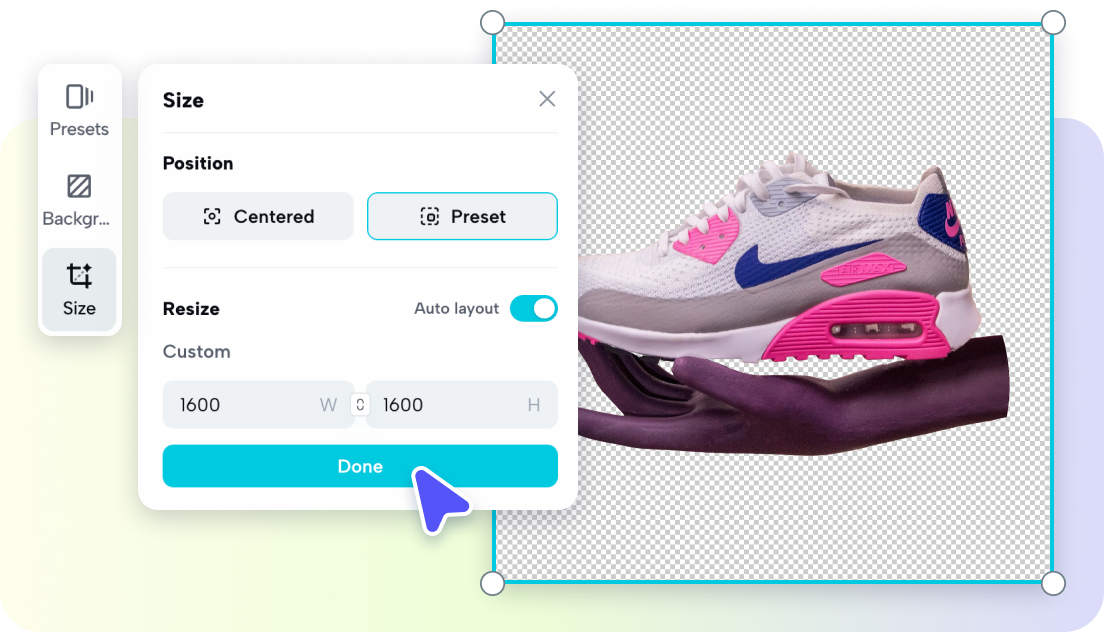
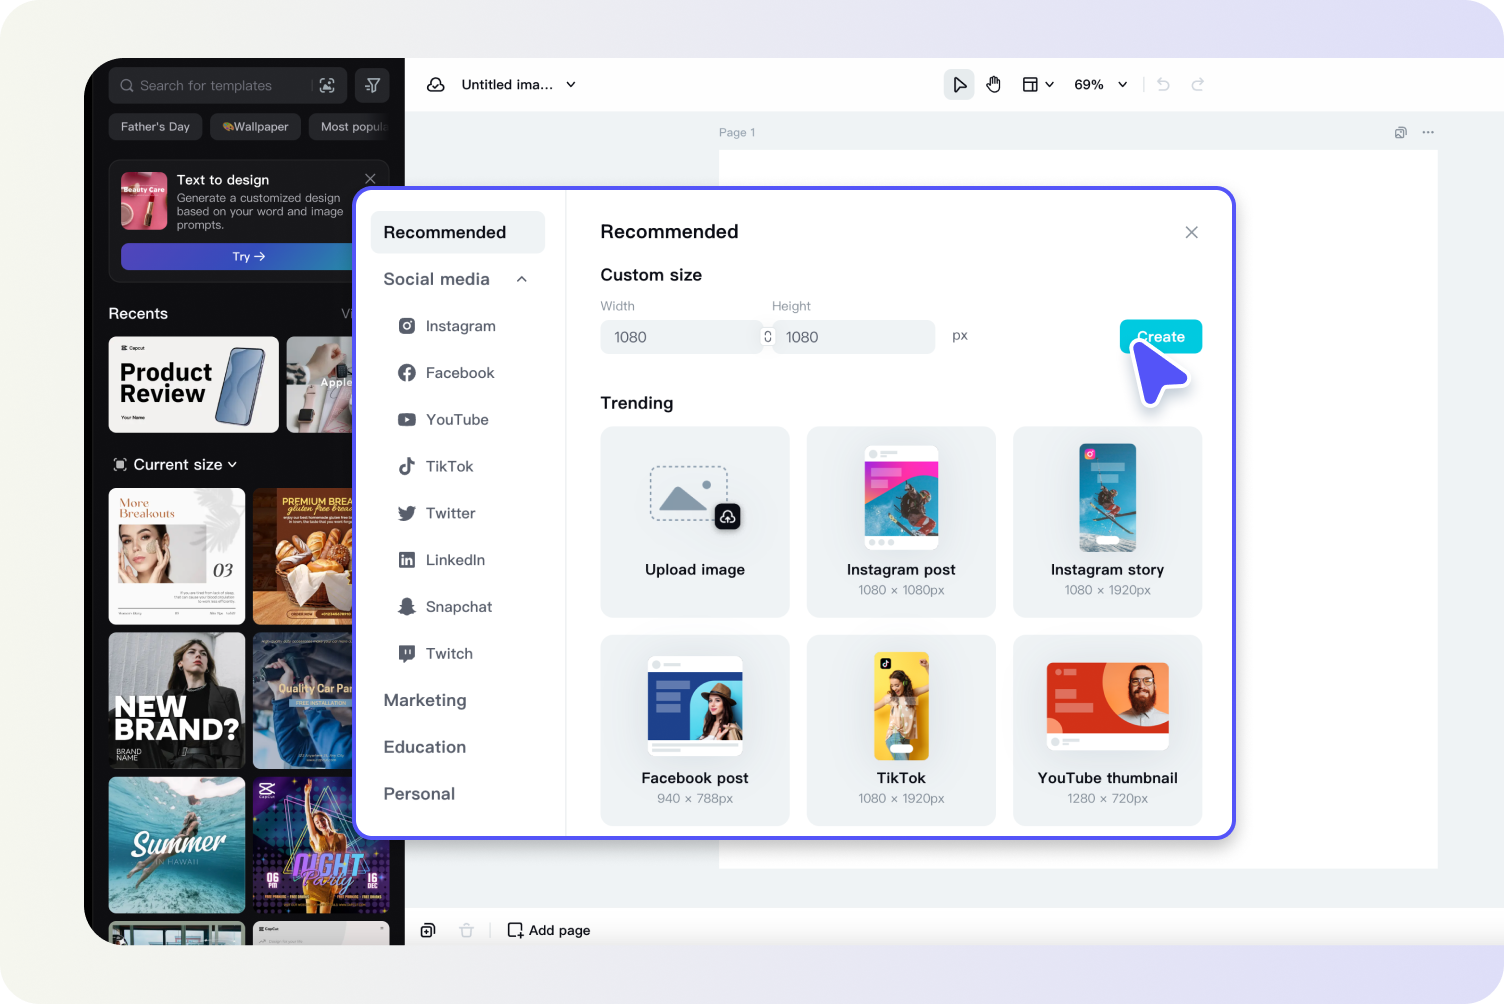
How to fix it: Choose a moderate compression level that balances size and quality. Tools like Pippit allow you to control compression while preserving essential details, ensuring crisp images even after resizing.
3. Ignoring Aspect Ratio
Resizing an image without maintaining its original aspect ratio can distort the proportions, stretching the image in unnatural ways. This not only affects clarity but also makes objects in the image look skewed or flattened.
How to fix it: When resizing, always keep the aspect ratio locked. If you need an image to fit specific dimensions, consider cropping instead of stretching to avoid distortion.
4. Resizing in Multiple Steps
Repeatedly resizing an image—shrinking, enlarging, then shrinking again—can degrade quality significantly. Each time an image is resized, pixels are lost or artificially generated, reducing sharpness.
How to fix it: Resize your image only once to the desired dimensions. If you must adjust the size multiple times, use a tool that supports lossless scaling to minimize quality loss.
5. Saving in the Wrong Format
Not all image formats handle resizing the same way. JPG is excellent for web use but can lose quality over multiple edits, while PNG and TIFF retain more detail but result in larger files.
How to fix it: Use JPG for the web when file size matters, but for print or high-detail work, consider PNG or TIFF. If working with JPG, adjust compression settings to maintain clarity.
6. Skipping Sharpening After Resizing
Resizing often reduces fine details, making images look slightly soft or blurry. Many people forget to sharpen their images after resizing, which can help bring back some lost details.
How to fix it: After resizing, apply a small amount of sharpening to restore crispness. Most editing tools offer an “Unsharp Mask” or “Smart Sharpen” feature that enhances edges without making the image look artificial.
7. Using Basic Editors with Limited Resizing Capabilities
Some image editors lack advanced resizing algorithms, leading to a significant drop in quality. Basic tools often use simple pixel duplication, which causes blocky and blurry results.
How to fix it: Use a high-quality JPG image resizer that applies intelligent upscaling and downscaling techniques. Professional tools help preserve detail and avoid unnecessary blurring.

8. Not Considering Display Resolution Differences
Images that look sharp on one screen might appear blurry on another. This is because different devices have varying display resolutions, and an image that isn’t optimized for its target screen can lose clarity.
How to fix it: Optimize your images based on where they will be displayed. For high-DPI screens (like Retina displays), use higher-resolution images to ensure sharpness.
9. Forgetting to Check Print DPI Settings
When resizing images for print, using the wrong DPI (dots per inch) can make them look pixelated. A low-DPI image (72 DPI) might look fine on a screen but will appear blurry when printed.
How to fix it: For professional print quality, set your image resolution to 300 DPI. This ensures crisp and detailed prints without visible pixelation.
10. Neglecting Proper Color Profiles
Color plays a huge role in image clarity, especially when printing. If your resized image has incorrect color settings, it might appear dull or washed out compared to the original.
How to fix it: Make sure your image uses the correct color profile, RGB for digital displays and CMYK for print. Converting between these improperly can cause unexpected shifts in brightness and contrast, affecting overall image clarity.
Conclusion
Blurry-resized images are usually the result of avoidable mistakes like low-resolution sources, excessive compression, or improper format choices. By following the best practices for resizing, you can ensure your images remain crisp and professional across all platforms. To make the process easier, using a JPG image resizer like Pippit can help you resize without losing quality. Whether you’re optimizing images for digital use or print, the right tools and techniques will keep your visuals sharp and stunning.


